
Last updated November 15, 2026
 Wrought iron
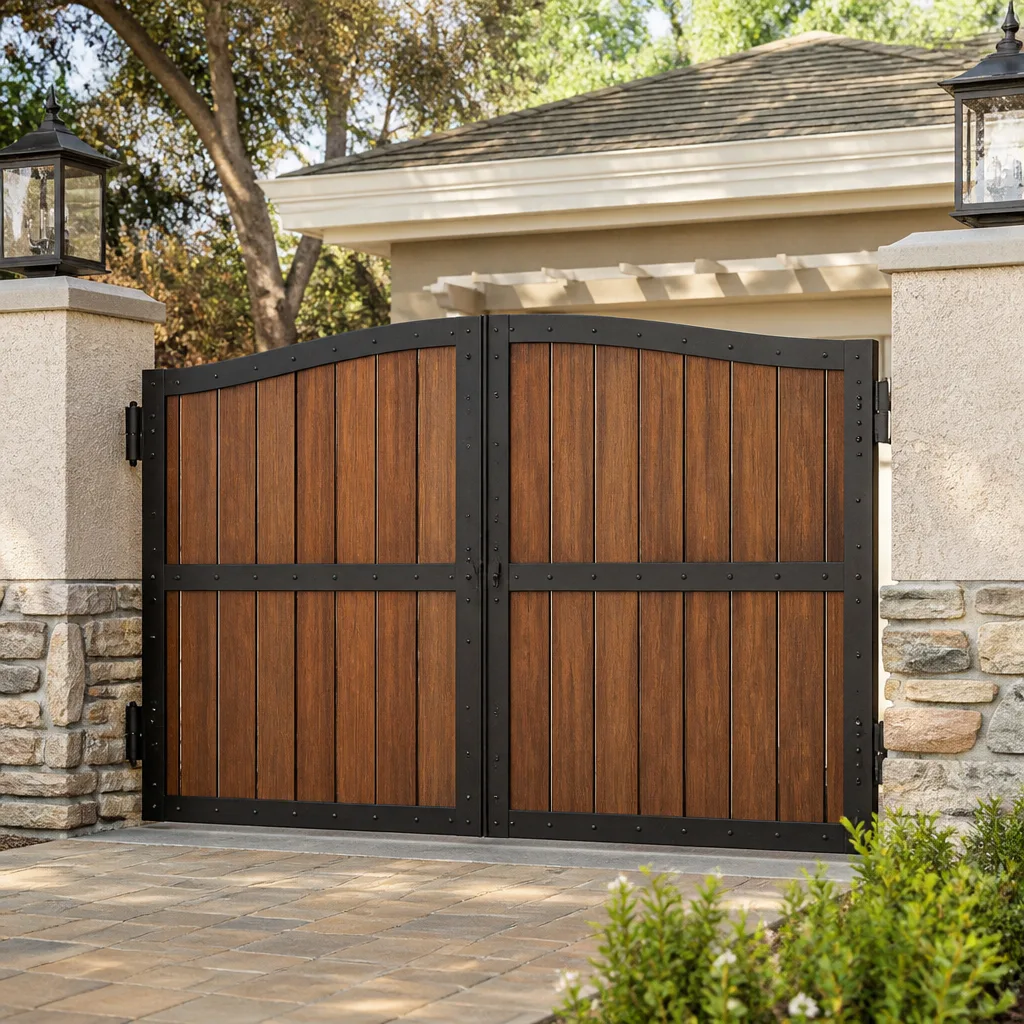 Wood & steel frame
 Farm & ranch
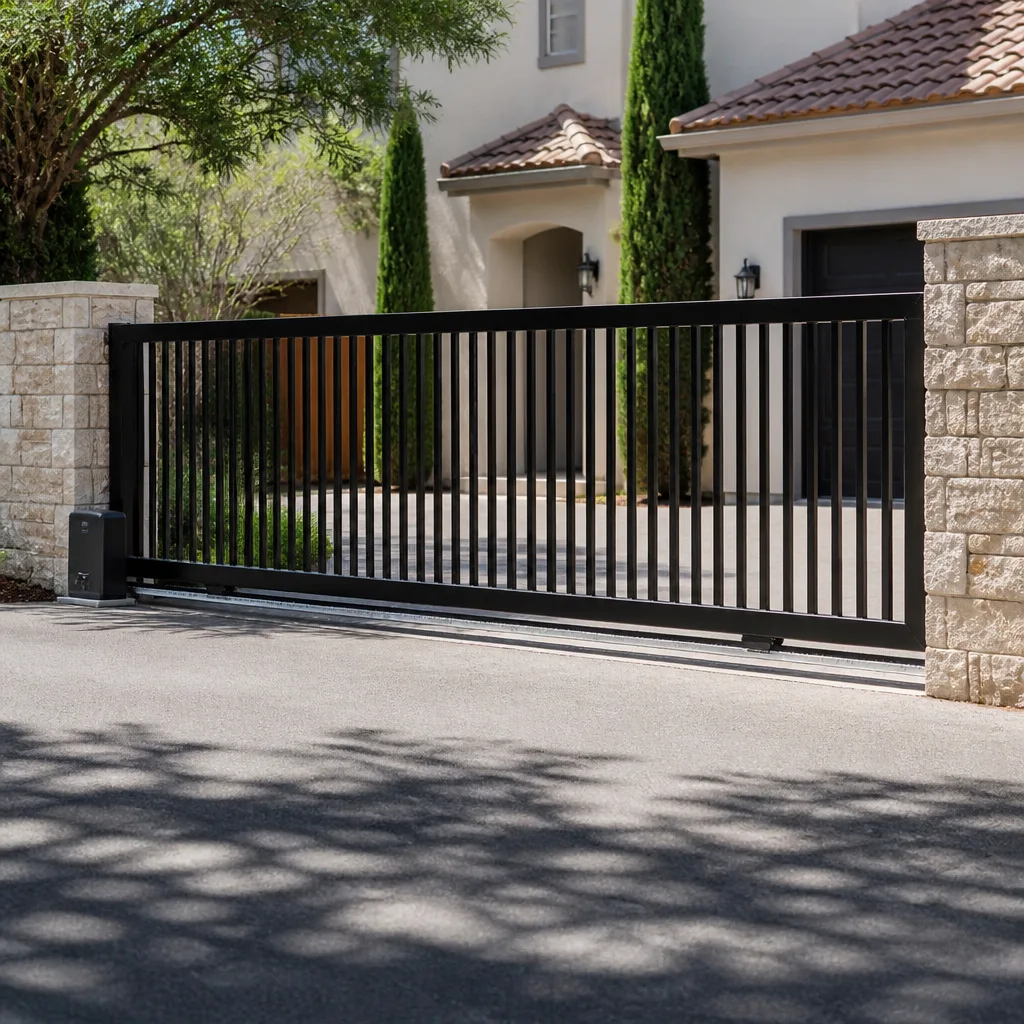 Sliding driveway gates
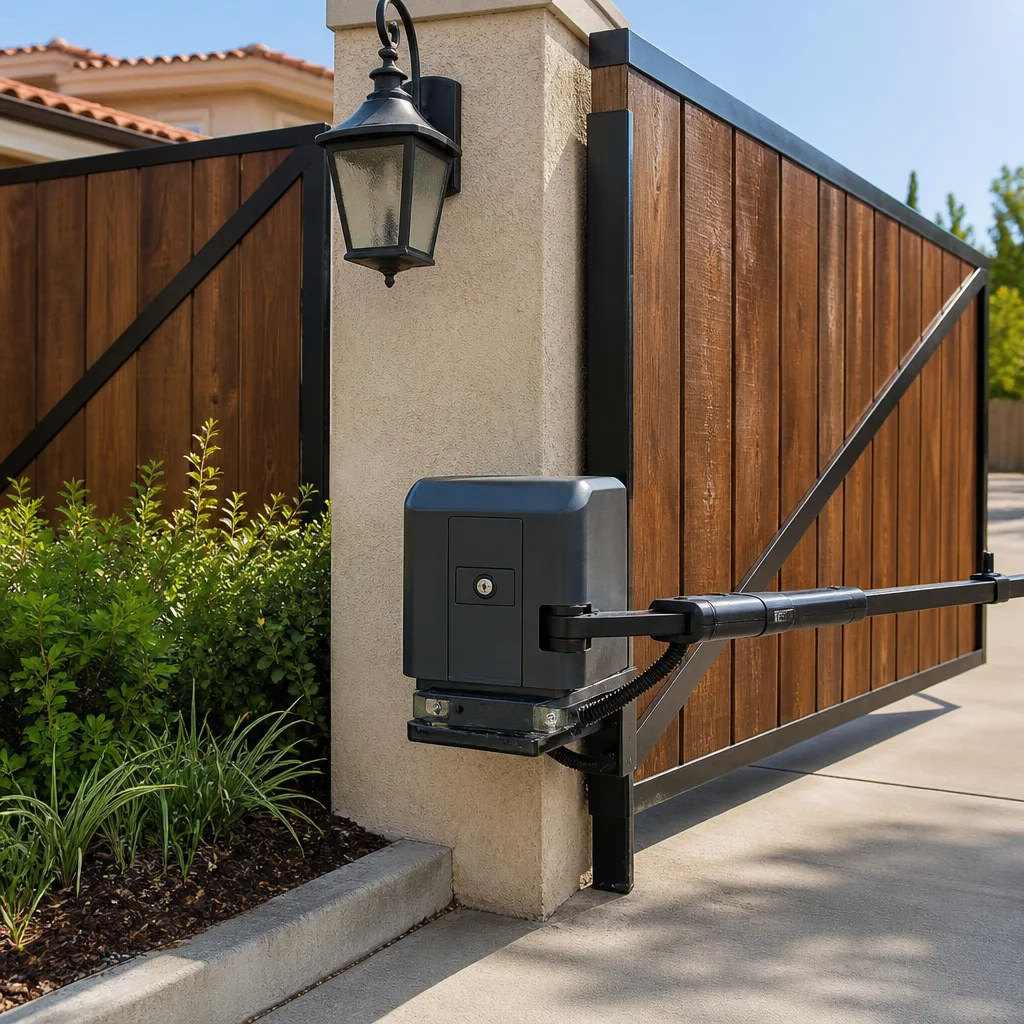 LiftMaster operators
Free on-site gate assessment - hinges, posts, and your LiftMaster or Nice gate operator checked before anything is quoted
The assessment is free and the quote is the invoice.
Get your free estimateGate Repair Maintenance Checklist for Gresham Homeowners
The number one maintenance mistake Gresham gate owners make isn’t skipping lubrication. It’s lubricating the wrong components with the wrong product and accelerating the wear they thought they were preventing. Spray a chain with a sticky aerosol, grease a rack that should stay dry, or soak a pivot that needs only a few drops, and you collect grit that grinds metal every time the gate cycles. Add a wet Gresham winter and a dry summer, and the mistakes compound in ways a swing gate and a slide gate never share. This guide gives you separate checklists for each gate type, the right lubricant for each component, and the seasonal timing that actually matters here.
Quick Answer
A working maintenance checklist for a Gresham gate separates swing gates, slide gates, and barrier arm gates, because each has different wear points and different lubrication needs. Check hinges, pivots, and operators after the fall rains settle in, then check chains, racks, and track surfaces again at the end of the dry summer stretch. Test safety reversal and loop detectors monthly, and stop lubricating anything a manufacturer says to leave dry.
Styles & brands we work with
- Wrought iron
- Wood & steel frame
- Farm & ranch
- Sliding driveway gates
- LiftMaster operators
Table of Contents
- Why Swing Gates and Slide Gates Need Different Checklists
- Swing Gate Maintenance Checklist
- Slide Gate Maintenance Checklist
- Barrier Arm Gate Maintenance Checklist
- Which Lubricants Belong on Which Components
- Gresham Seasonal Timing: Fall Rains vs. Dry Summer
- How to Test Safety Reversal and Loop Detectors at Home
- Normal Wear vs. a Repair Need You Shouldn’t Ignore
Why Swing Gates and Slide Gates Need Different Checklists
A swing gate hangs and rotates. A slide gate rolls and tracks. The forces, the moving parts, and the failure modes are different enough that one shared checklist gives you false confidence on both. This is the core reason most homeowner maintenance routines fail: the list says “lubricate moving parts,” and the owner applies the same product to a hinge, a chain, and a roller without asking what each one actually needs.
Here’s the practical difference:
- Swing gates load their hinges and pivots every time they move. A worn hinge shows up as sag, drag, or a gate that no longer meets its post cleanly.
- Slide gates load their track, rollers, and chain or rack. Misalignment here shows up as grinding, jumping, or a gate that drifts off its stops.
- Barrier arms load a single pivot and a counterweight. Wear shows up fast as arm wobble or a slow, labored rise.
When the wrong lubricant lands on the wrong part, the checklist actively makes things worse. A chain packed with heavy grease collects grit and stretches; a rack meant to run dry gets gummy and binds; a pivot that needs three drops gets drowned and leaks onto the concrete. Our Gate Repair Gresham work starts with the gate type and the hardware on it, because the same symptom on two gate styles often has two different causes. That’s also why the rest of this guide keeps the checklists separate all the way through.
Swing Gate Maintenance Checklist
Swing gates fail at the hinges, the pivots, and the operator arm before anywhere else. Work through this list in order and note anything that drags, clicks, or binds.
- Walk the swing arc. With the operator disengaged (many brands, including Viking and Elite, have a manual release), push the gate open and closed by hand. It should move with light, even resistance through the full arc. Any tight spot is your first clue.
- Check hinge play. Lift the gate slightly at the free end. Vertical movement at the hinge means bearing or bushing wear. Wobble at the top of the gate often means the same thing from a different angle.
- Inspect the pivot points. Look for rust streaks, dried-out grease, or metal shavings on the concrete. Those traces tell you more than the hinge looks.
- Look at the operator arm and its mounts. Check the arm, the brackets, and the bolts for looseness, bent metal, or elongation at the holes.
- Check the latch, stop, and post. A gate that no longer meets its stop squarely puts load on the hinges and the operator at the same time.
- Test the safety edges and photo eyes (see the safety section below).
- Confirm the control board and battery show no fault lights or warning codes.
Most swing gate repairs we see in Gresham trace back to a hinge that was never adjusted and eventually overloaded the operator. A gate that needs a shove to close is not a gate that needs a bigger motor; it’s a gate that needs its swing freed up. Fix the mechanical side first and the operator usually settles down.
Slide Gate Maintenance Checklist
Slide gates live or die by their track, rollers, and drive chain or rack. The checklist is shorter but the inspection points are more precise.
- Clear the track. Sweep or blow out grit, leaves, and gravel. In Gresham, fir needles and small debris collect in the track and get ground into the rollers with every cycle.
- Check roller condition. Roll the gate by hand and listen. Grinding, flat spots, or a roller that no longer spins freely points to wear or debris inside the bearing.
- Inspect the track surface for alignment. A gate that drifts into the track or lifts slightly on one side is usually out of level or off its stops. Don’t force it; address the alignment.
- Look at the chain or rack. Check for slack, stretched links, missing pins, or a rack that has worked loose from the gate frame.
- Inspect the drive sprocket or pinion for worn teeth and debris packed between them.
- Test the safety loops and edges at the track and the gate face.
- Check the operator housing and control board for fault codes, moisture, or insect intrusion.
Slide gate problems often look like operator problems and turn out to be track problems. If a gate starts reversing partway through its travel, or the motor sounds like it’s straining, look at the mechanical side before assuming the control board has failed. The gate repair we handle most often on slide systems comes down to a misaligned track or a stretched chain that was never adjusted. Catching either early keeps the drive components from taking the wear.
Barrier Arm Gate Maintenance Checklist
Barrier arm gates are common on commercial driveways and parking entries, and they wear differently again. The arm itself, the counterweight, and the pivot carry nearly all the load.
- Arm straightness and attachment: check the arm, its bracket, and any breakaway hardware for cracks or looseness.
- Counterweight balance: the arm should rise and lower with even effort. A labored rise is usually balance, not motor.
- Pivot and bearing: check for play, rust, or dried lubricant at the pivot housing.
- Cabinet seals and gaskets: moisture intrusion is a common cause of control board faults on outdoor cabinets.
- Warning lights and signage: confirm the lights and any posted warnings are intact and legible.
- Loop detectors and safety edges: test these as you would on any other automated gate.
Because barrier arms sit on high-traffic driveways, the pivot takes more cycles than a residential swing gate will see in a year. A commercial system from DoorKing or a similar brand deserves a look at every pivot and seal point on each pass, not just the arm. If your building has more than one lane, keep a note for each unit so a recurring fault on one arm doesn’t get lost in a general inspection.
Which Lubricants Belong on Which Components
This is where most maintenance routines go wrong. A single can of spray does not serve a gate. Match the product to the component:
- Chain (slide gates): a light chain lubricant or dry film that doesn’t hold grit. Avoid heavy grease and sticky aerosols, which trap debris and accelerate stretch.
- Rack and pinion (slide gates): follow the manufacturer’s spec. Many racks are designed to run essentially dry or with a light film only. Greasing a rack that should stay dry is a common cause of binding.
- Hinges (swing gates): a small amount of a quality bearing grease or a few drops of a dedicated hinge lubricant. Wipe off excess; don’t let it collect grit.
- Pivots and bushings: a few drops of light oil, applied sparingly. Drowning a pivot causes it to collect debris and leak onto concrete.
- Operator arm joints: light lubricant at the pivot points, per the operator manual.
- Rollers (slide gates): sealed bearings usually need nothing. If the manufacturer specifies lubrication, use exactly what they name.
What to avoid on nearly every gate: silicone sprays used as a cure-all, WD-40 as a long-term lubricant (it’s a penetrant, not a bearing grease), and anything sticky on a chain or rack. When in doubt, check the manual for your brand. A Ghost Controls or Viking residential operator will have specific guidance, and a commercial DoorKing system often calls for a different schedule entirely.
If you can’t find the manual, the safe move is to clean the component and apply the lightest product the hardware allows, then watch for grit buildup over the next few weeks. Change course if it collects debris.
Gresham Seasonal Timing: Fall Rains vs. Dry Summer
Gresham’s weather gives gates two distinct stress windows, and the maintenance routine should change with them. The fall rains bring moisture into every hinge, pivot, and cabinet seal, while the dry summer stretches bake out lubricants and let dust settle into moving parts.
After the fall rainy season settles in, check:
- Hinge and pivot corrosion and standing water at low points
- Cabinet seals, gaskets, and control board housings for moisture
- Track drainage on slide gates, especially where debris collects in low spots
- Safety edge and photo eye function after wet weather
- Gate posts and footings for movement or settling after saturated ground
At the end of the dry summer stretch, check:
- Lubricant condition at hinges, pivots, and arm joints; reapply light product as needed
- Dust and grit buildup in tracks, chains, and rollers
- Sprocket and pinion wear, which shows more clearly once the grit is cleared away
- Battery and control board health after a summer of frequent cycles
- Gate alignment, since dry ground can shift a post slightly and throw a slide gate out of track
In our experience, the gate emergencies we see around Gresham cluster at the edges of these seasons: a wet hinge that stiffened over the fall, or a dry pivot that scored over the summer. A short inspection on each side of the calendar catches most of both. Neighborhoods on the east side of town, closer to the tree cover and the slopes, tend to collect debris faster, so track and hinge cleaning pays off sooner there.
How to Test Safety Reversal and Loop Detectors at Home
You can test your safety systems without touching the wiring and without voiding a manufacturer warranty, as long as you test function rather than take anything apart. Follow the steps below.
- Clear the gate path of people, vehicles, and obstructions before you begin.
- Test photo eyes: with the gate fully open and ready to close, pass an object through the beam while the gate is closing. The gate should reverse.
- Test safety edges: press the safety edge by hand or, if your manual specifies a test procedure, follow it. The gate should stop and reverse.
- Test the loop detector: drive or place a test vehicle or specified test object over the loop and confirm the gate holds open or does not close on it.
- Test the manual release: engage the manual release and confirm the gate can be moved by hand, then re-engage it fully.
- Test the limit positions: run the gate fully open and fully closed and confirm the stops are correct.
If any of these fail, stop using the gate automatically and call for service. Do not adjust loop detector sensitivity, edge wiring, or control board functions on your own. That’s the part of gate ownership that requires a trained technician, and it’s the line where a routine check becomes a repair call. A system that passes open/close but fails one of the safety tests is not in service; it’s waiting for a problem to happen.
Normal Wear vs. a Repair Need You Shouldn’t Ignore
Not every finding on this checklist is a repair call. The distinction matters because it drives what you do next.
Normal wear that can usually wait for the next scheduled check:
- Light surface rust on a hinge or post
- A small amount of lint or dust in a track you can clear yourself
- Minor lubricant loss at a pivot that refills with a few drops
- Faint cosmetic scuffs on the gate panels
Findings that point to a repair need:
- Grinding or clicking through part of the swing or slide
- A gate that reverses without an obstruction
- Control board fault codes that return after a power cycle
- A failed safety edge, photo eye, or loop detector
- Sagging hinges, a bent arm, a loose rack, or a chain that has stretched past its adjustment range
- A post, footing, or track that has moved
When the checklist turns up one of those, the next move is a trained technician, not another can of lubricant. Our electric gate repair work across Gresham starts with tracing the fault to its source, whether the issue lives in a mechanical component or on a control board. Treating a control fault as a mechanical problem (or the reverse) is how a small repair turns into a rebuild.
Common Mistakes to Avoid
- Using the same lubricant on a chain and a rack. Chain lubricant belongs on chains; a rack that runs dry should stay dry. Applying heavy grease to both is a common cause of grit buildup and premature wear.
- Drowning a pivot or hinge with spray. A few drops in the right place work better than a soaking coat, which collects grit and leaks onto concrete.
- Treating a stiff gate as an operator problem. A gate that drags by hand doesn’t need a bigger motor; it needs its hinges or track addressed first.
- Skipping the safety tests. A gate that opens and closes on command can still be a safety failure if the photo eye or loop detector isn’t working.
- Ignoring the cabinet seals. Gresham’s wet fall weather finds its way into any gasket that’s dried out or cracked, and moisture is a frequent cause of control board failures.
- Clearing a slide gate track but leaving the rollers. Debris that collects in the roller bearings keeps grinding long after the track looks clean.
- Trying to adjust loop sensitivity or safety edge wiring yourself. These are safety functions. Testing them is routine; adjusting them is a job for a technician.
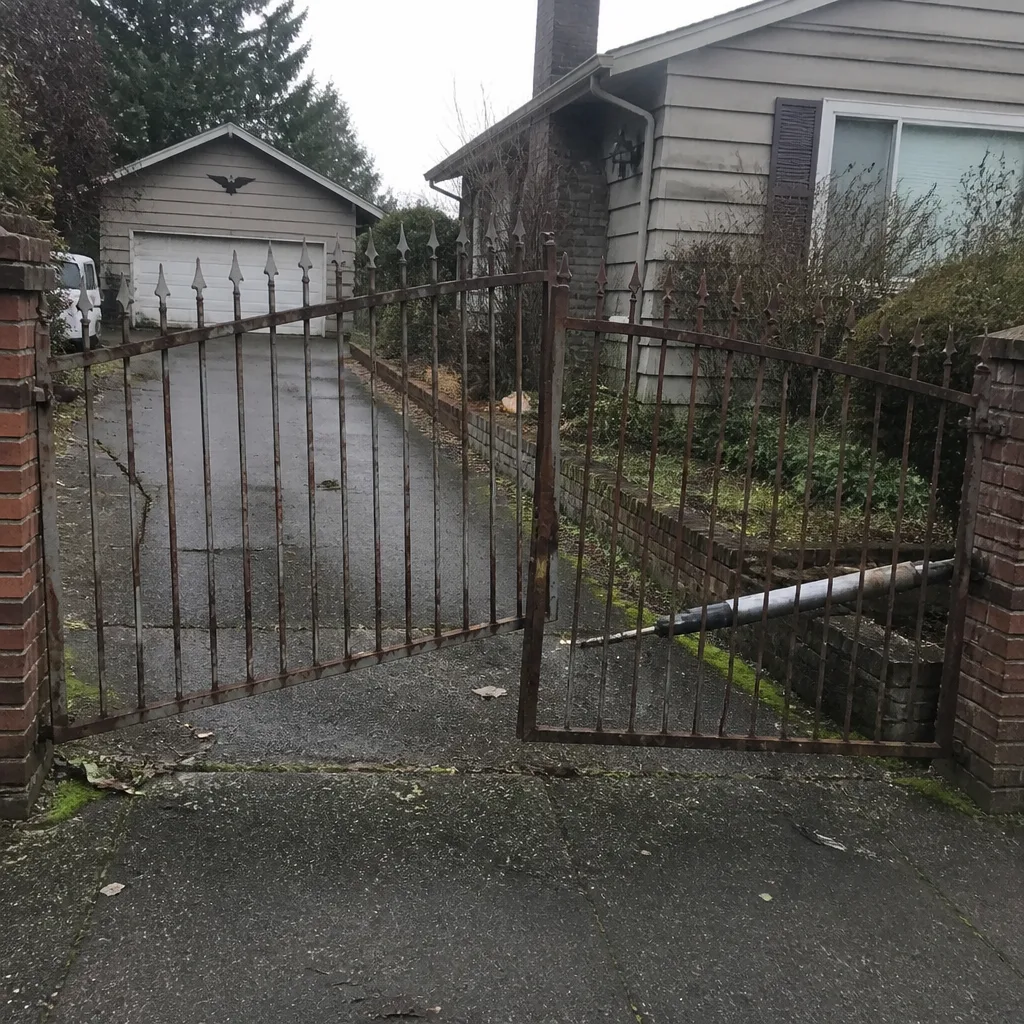
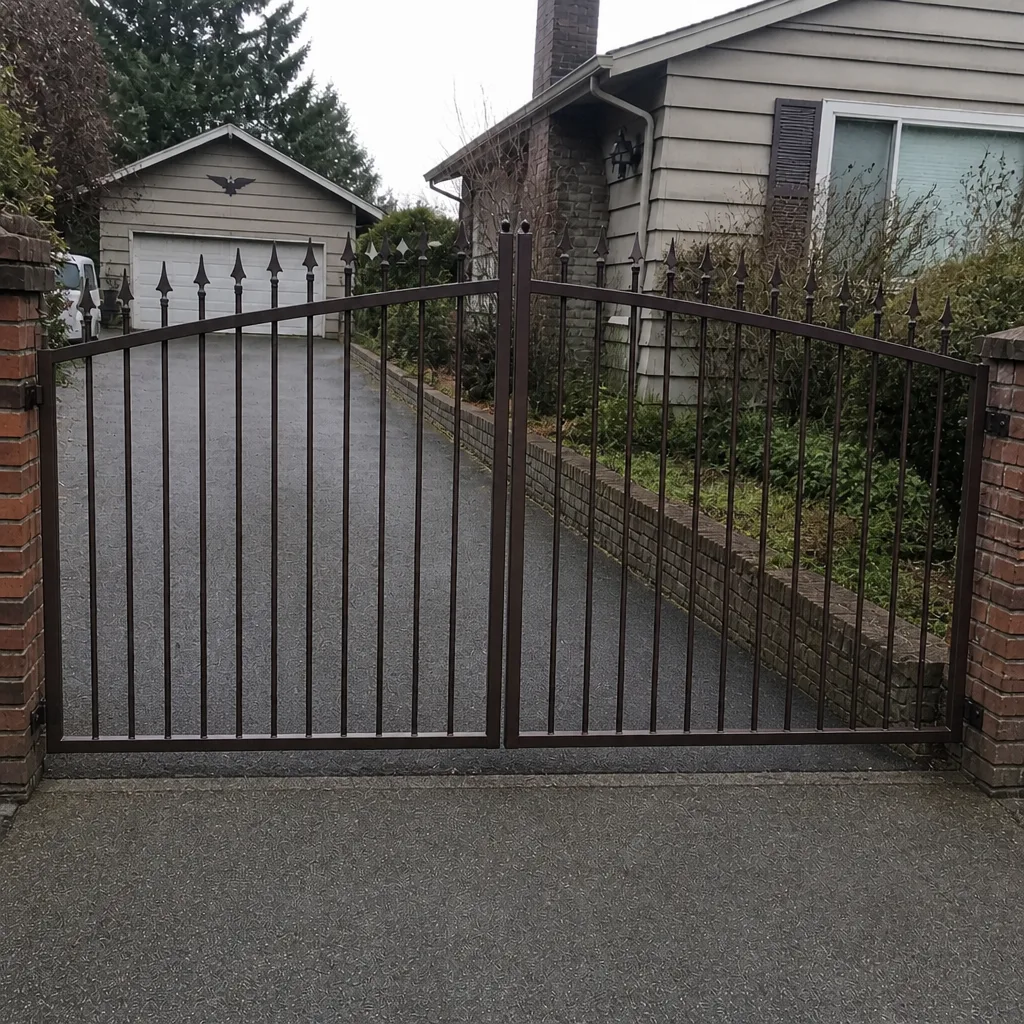
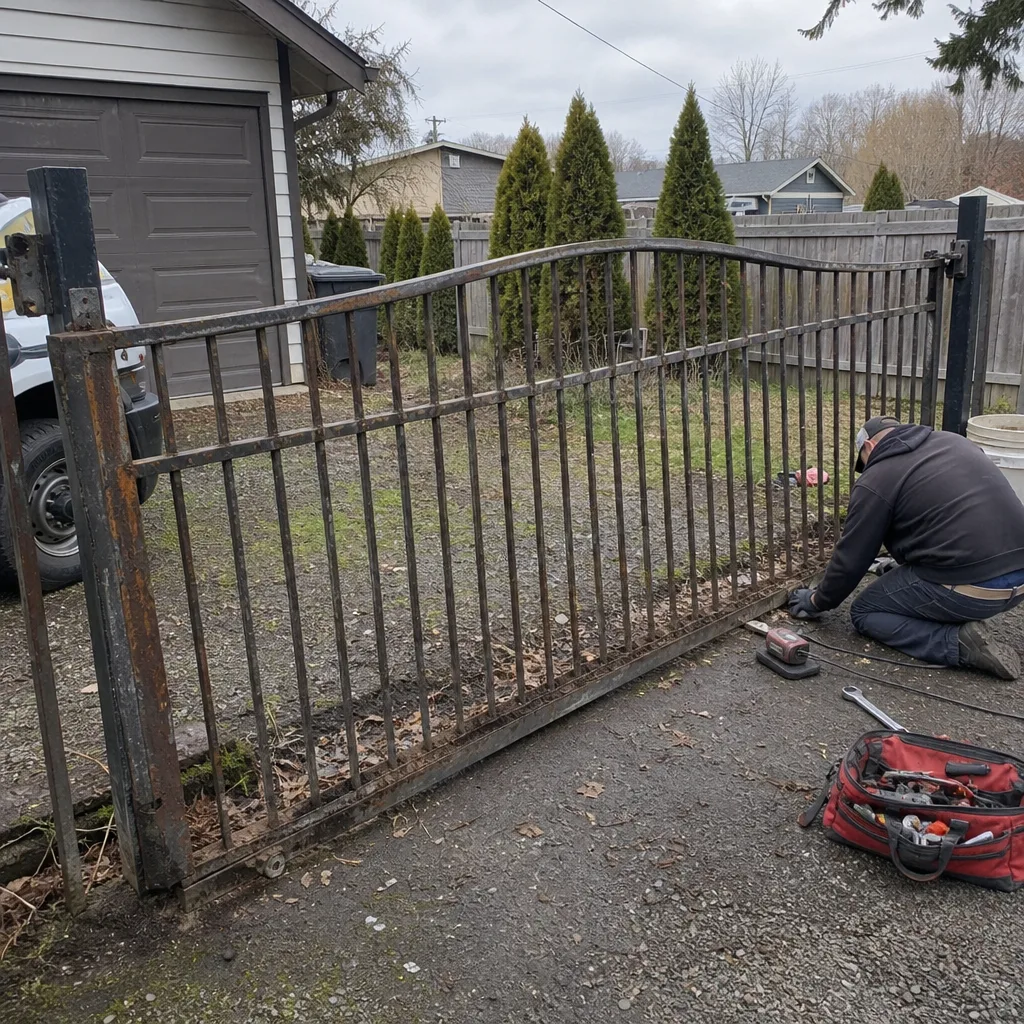
See the difference
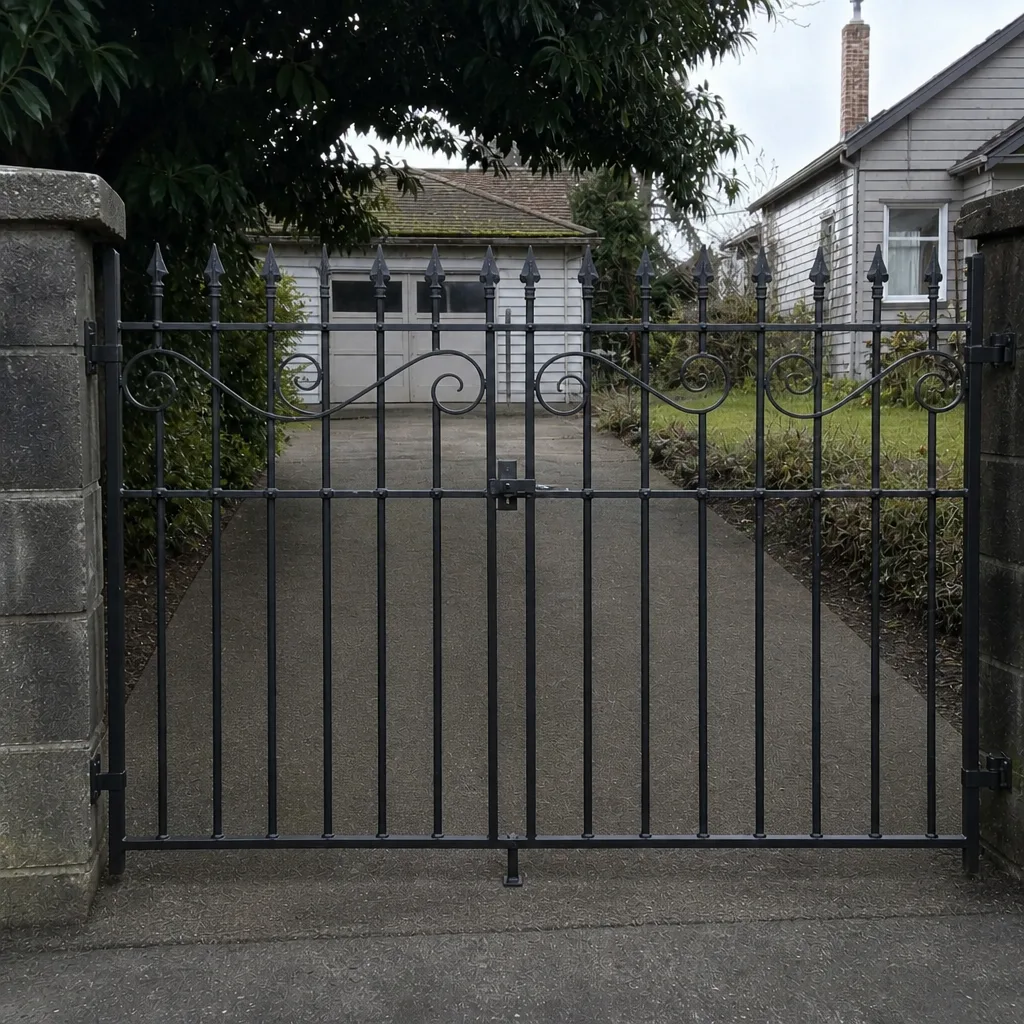
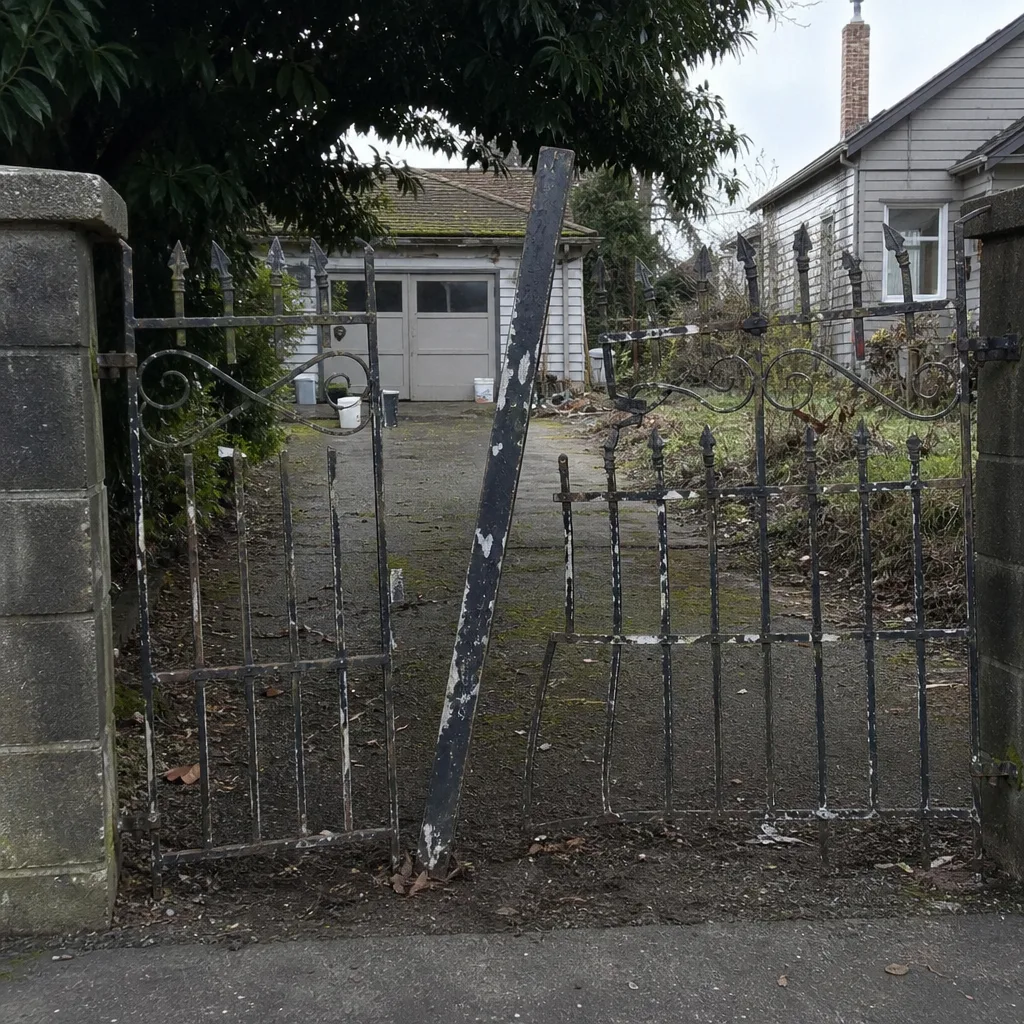 Before
 After
 Before
 After
 Before
 After
When to Call a Professional
Call a technician when you find any of the following: a gate that reverses without an obstruction, a control board fault that keeps returning, a failed safety edge, photo eye, or loop detector, a hinge or arm that has bent, sagged, or come loose, a chain or rack that’s out of adjustment, a post or track that has moved, or a gate that won’t respond to its remote or keypad. Any of these means the system has a fault that routine maintenance can’t fix. Gate Repair Gresham works on nearly every major gate brand, including Viking, Ghost Controls, DoorKing, and Elite, and we diagnose the fault at the source rather than guessing at components. Gate Repair Gresham offers free estimates in Gresham. Call (866) 942-6384. We answer 24/7. Fast dispatch from 7am to 7pm, Sunday through Friday.
Frequently Asked Questions
Check your gate monthly for safety function, and inspect mechanical components after the fall rainy season settles in and again at the end of the dry summer stretch. Gresham’s wet-then-dry cycle makes those two inspections the most valuable of the year. Call (866) 942-6384 for an exact quote – estimates are free.
Use a light chain lubricant or dry film that doesn’t collect grit, and avoid heavy grease or sticky sprays. A chain packed with grease traps debris and stretches faster than a clean one. If you’re unsure about your specific brand, call (866) 942-6384 and we’ll walk you through it.
Yes, you can and should test safety reversal, photo eyes, and loop detectors at home on a routine basis. What you shouldn’t do is adjust loop sensitivity, edge wiring, or control board functions. Testing is maintenance; adjusting those functions is a technician’s job.
Grinding, sagging hinges, a bent arm, a gate that reverses without an obstruction, or a returning fault code all point to a repair need. Light surface rust, minor debris, and small lubricant loss are normal wear you can handle on your next check. Call (866) 942-6384 for an exact quote – estimates are free.
The two gate types load different parts: hinges and pivots on a swing gate, track and rollers on a slide gate. The right lubricant and the right inspection points differ for each, which is exactly why one shared checklist gives you false confidence. Gate Repair Gresham works on both every week.
Moisture is a common cause of control board faults and hinge corrosion in Gresham, especially where cabinet seals and gaskets have aged. Inspect cabinet seals and hinge condition after the fall rains kick in, and clean slide gate tracks so debris doesn’t hold water. Call (866) 942-6384 for an exact quote – estimates are free.
The Bottom Line
The right maintenance checklist for your Gresham gate depends on what kind of gate you have. Swing gates, slide gates, and barrier arms each carry different loads and need different lubricants at different points. Match products to components, clear the track before the rollers get ground down, test safety function every month, and treat each season change as a chance to catch a small fault before it becomes a repair. If a check turns up a failed safety function, a bent part, or a control fault that returns, call us. Gate Repair Gresham connects you with technicians experienced in gate repair, electric gate repair, and installation, working across LiftMaster, FAAC, BFT, Linear, Viking, Ghost Controls, DoorKing, Elite, and Mighty Mule systems. Our technicians have up to 8 years of experience. Call (866) 942-6384. We answer 24/7. Fast dispatch from 7am to 7pm, Sunday through Friday. Estimates are free.
Written by the team at Gate Repair Gresham.